Setup Wizard
SPC comes with an easy-to-use setup wizard.
Just follow the steps to create a checkout page and payment buttons. You can always update the checkout form in SPC >> checkout page, and payment buttons in SPC >> Buttons page.
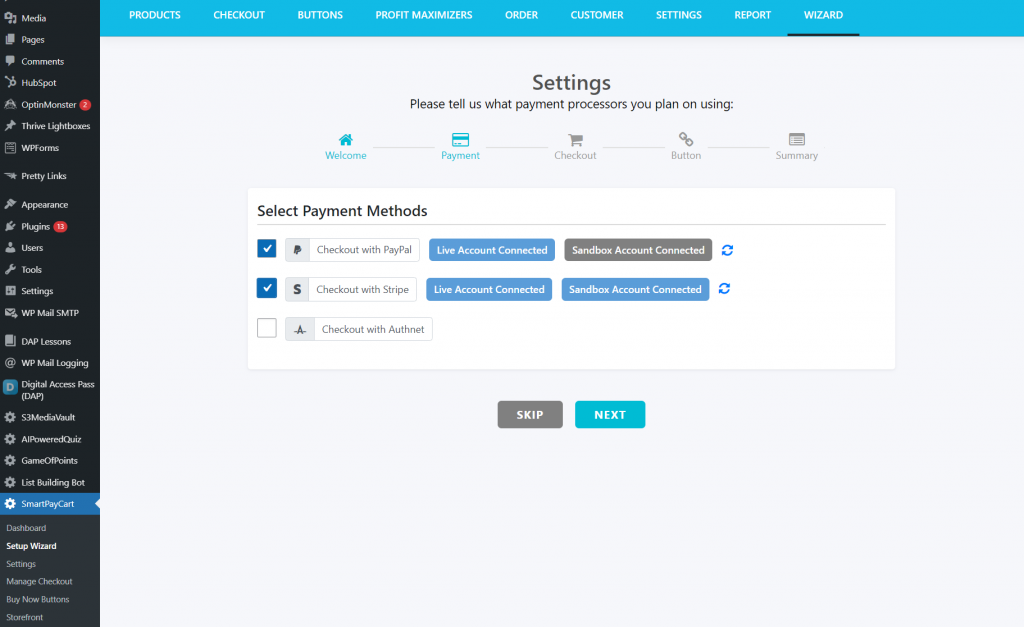
Even if you don’t use the wizard, you can follow the steps below to setup SPC.
How SPC works:
First a quick high level summary of how you can use SPC to sell your products.
To sell a product:
1. You will need a sales page where you can make a case on why someone should buy the product. You can create your sales page in WordPress.
2. Now you can create your product in DAP.
3. Next, you are going to need a payment button so interested users can click the button to purchase your product. Create your checkout form and payment button in SPC, and publish it on your sales page.
4. When users click the button, they will be sent to your order form where they can pay using PayPal or credit card (depending on your settings).
5. They can also add additional offers to their order (order bump) before completing the purchase.
6. After the purchase is complete, you can send them to your upsell offer page or you can send them to your thank you page.
7. Users will get an email with their purchase and download details. They can login to access the purchased content.
How to setup a buy button for your product using SPC:
Here’s a detailed, step-by-step overview of how you can sell your products using SPC.
Step 1. Setup Payment Credentials
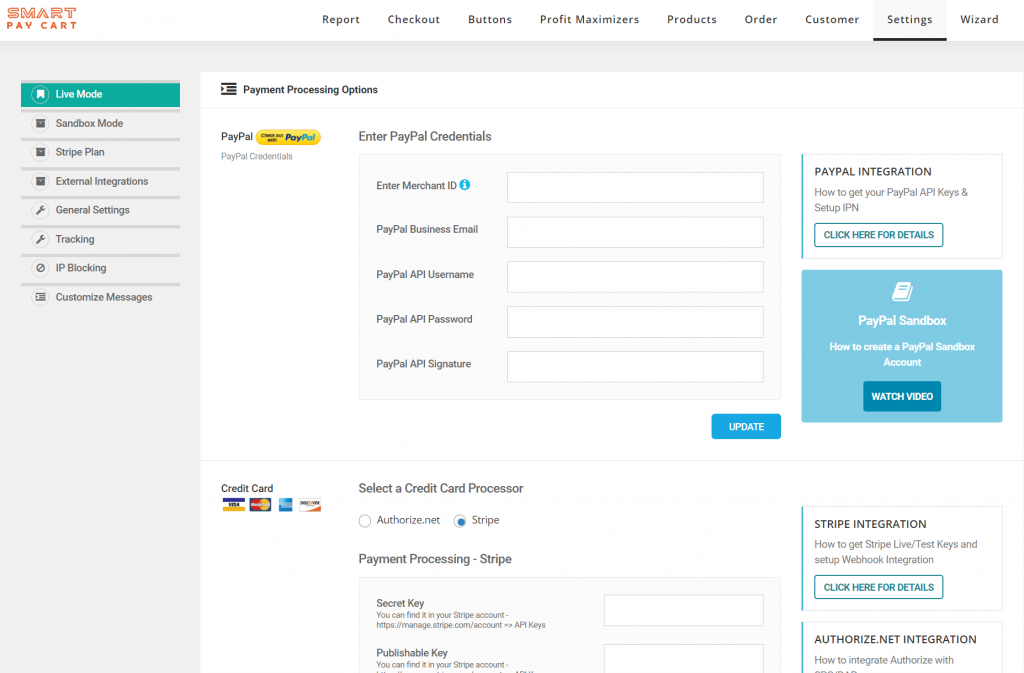
You need to setup your payment credentials (Stripe, PayPal, Authorize.net, RazorPay, iDeal, etc.) once. If you use the wizard, it’s the first step. Even if you don’t, you can do this in SPC >> Payment Settings page.
Setup both live and test/sandbox credentials. Live credentials under the ‘Live Mode’ tab, and the sandbox/test credentials under the “Sandbox Mode” tab.
Step 2. Create and customize your checkout page once.
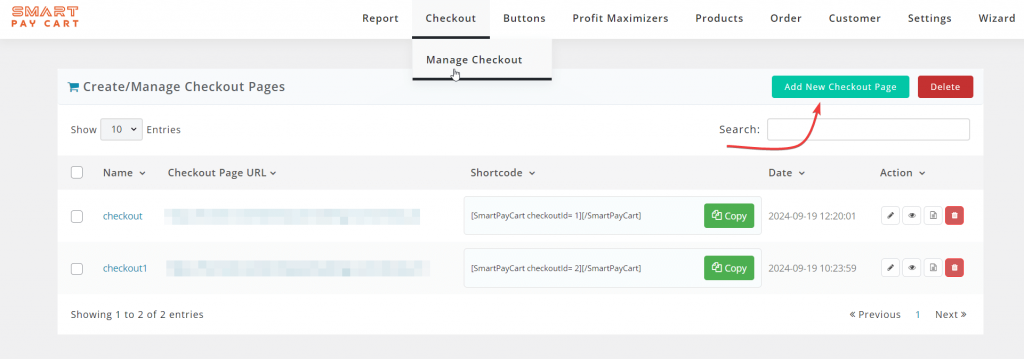
While you can create different checkout pages for each product, you are not required to to create different checkouts for each product. You can use the same checkout page/URL for all of your products. SPC will dynamically populate the right information based on the product being sold!
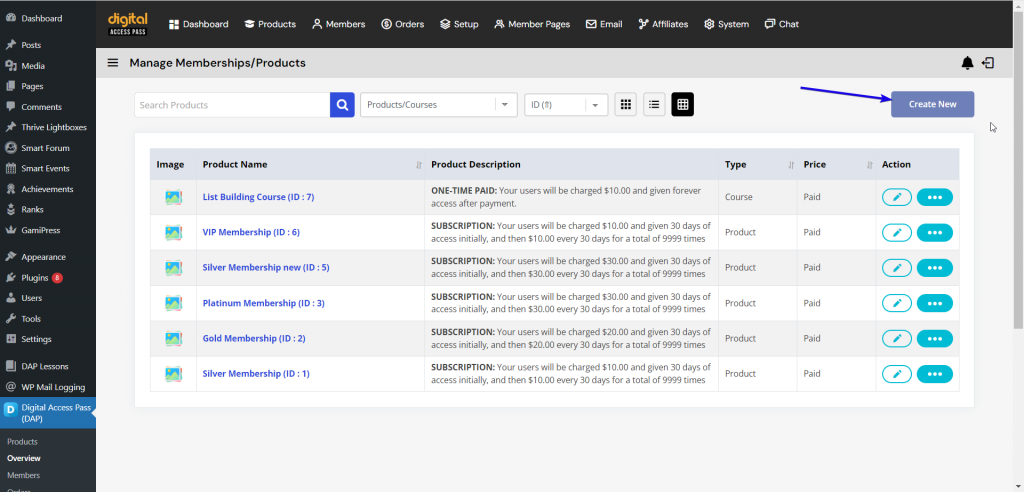
Step 3. Set up your products in DAP.
As SPC is made for DAP, you don’t have to create products in SPC!
If you want to sell something online, create a product for it in DAP.
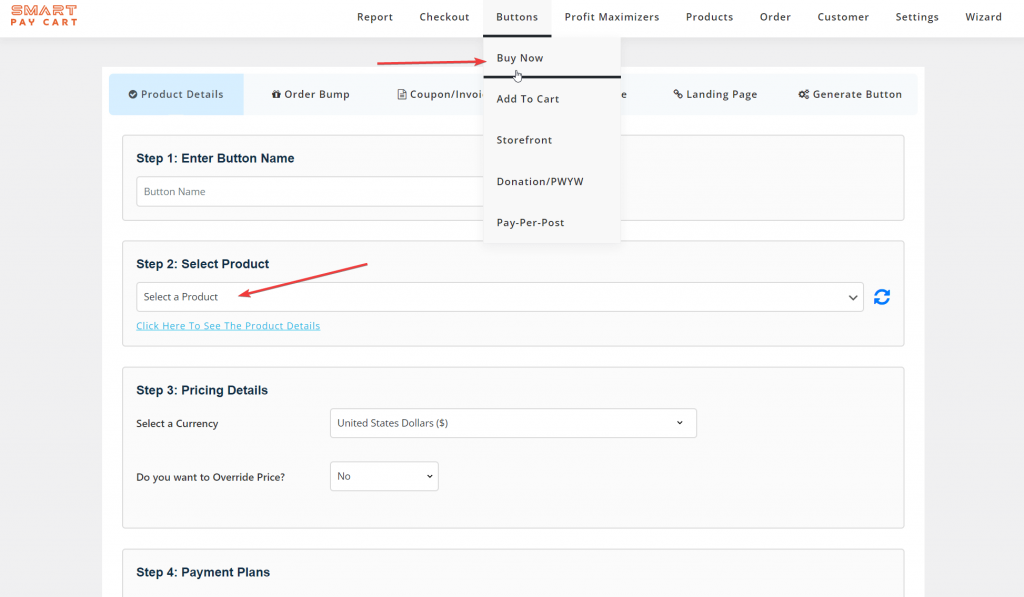
Step 4. Generate and publish your payment buttons in SPC.
You can create as many payment buttons as you want for your products! So create the product once and generate different payment buttons for your offers! You can override the product price at button level.
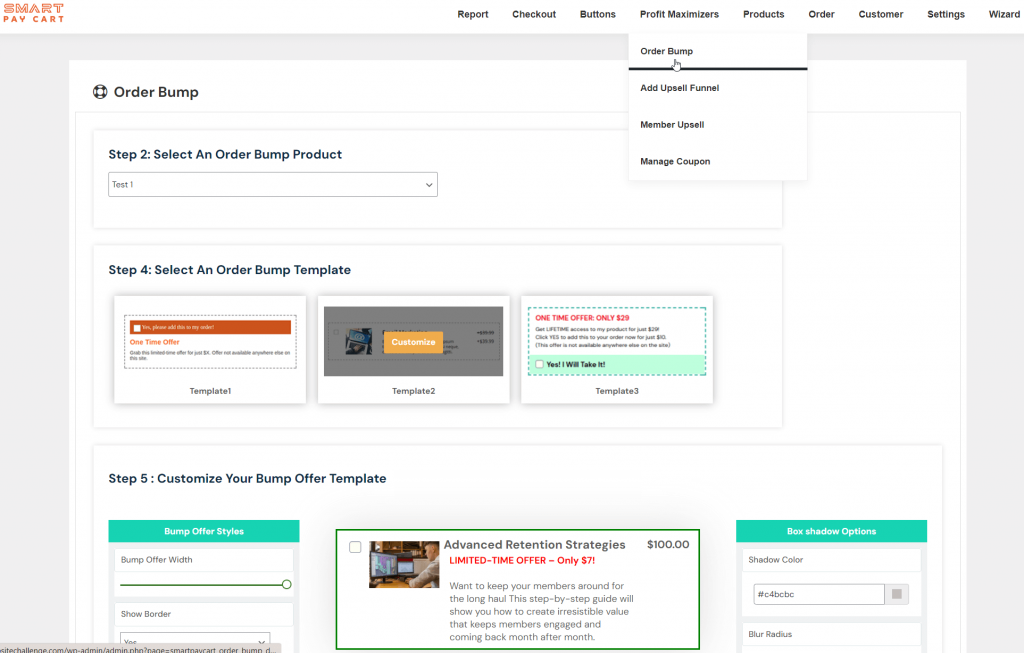
Step 5. Add Order Bumps
You can create products in DAP for your order bump offers.
Then create an order bump offer in SPC.
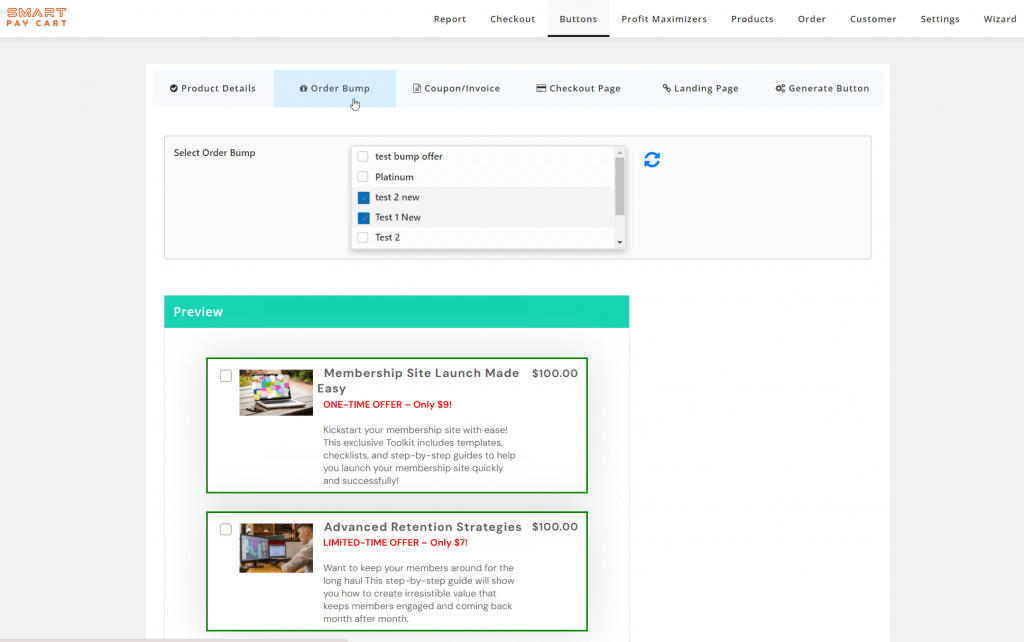
Step 6. Attach order bump to your buy button.
Now edit your buy button.
You can attach your order bump to your buy button.
Each buy button can have one or more order bumps.
Step 6. Add an Upsell Offer
For each upsell offer, you will need to product a DAP first.
You can create an upsell funnel in SPC >> Add Upsell Funnel page. Each upsell funnel starts with the first upsell offer.
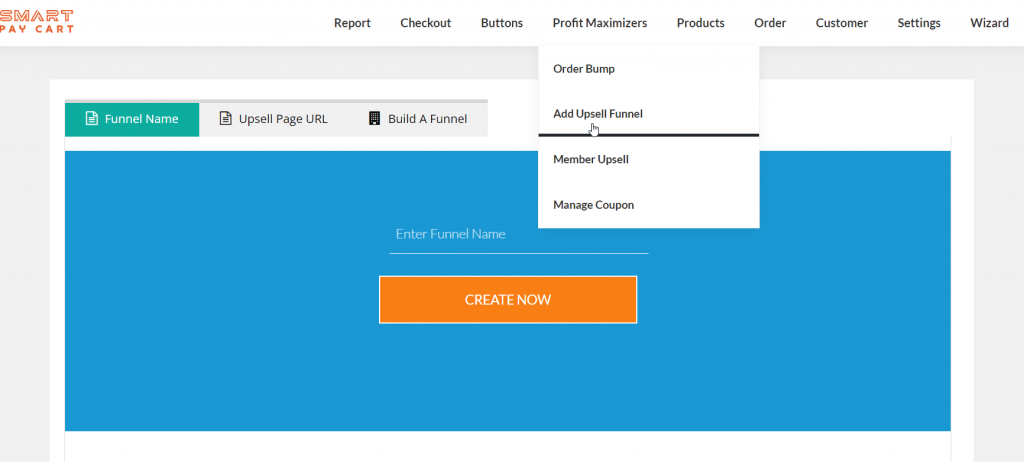
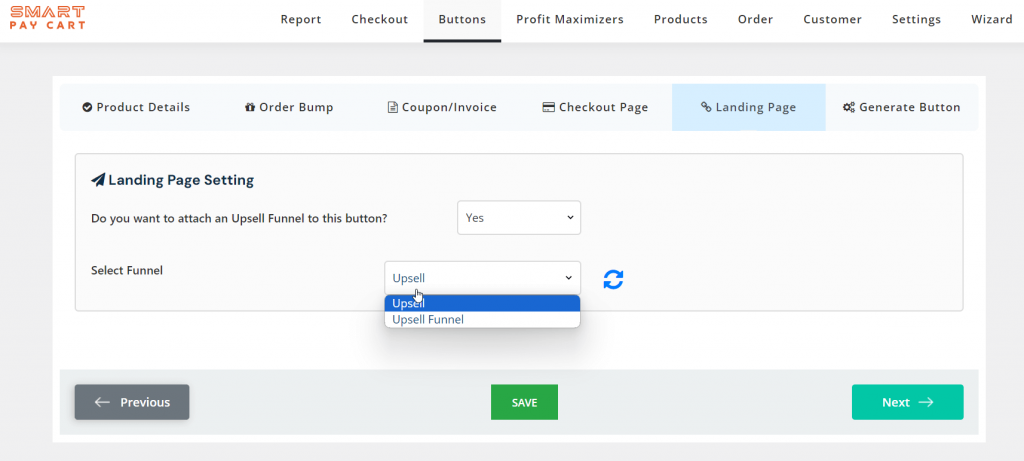
Now you can attach your upsell funnel / offer to your buy button. Upon successful purchase, SPC will send users to the first upsell.
Step 7. Save the buy button.
In the last tab of the buy button page, you will get a buy link/URL for your button.
Step 8. Publish!
Edit your sales page. Publish a button on your sales page and link it to SPC’s buy button URL.


