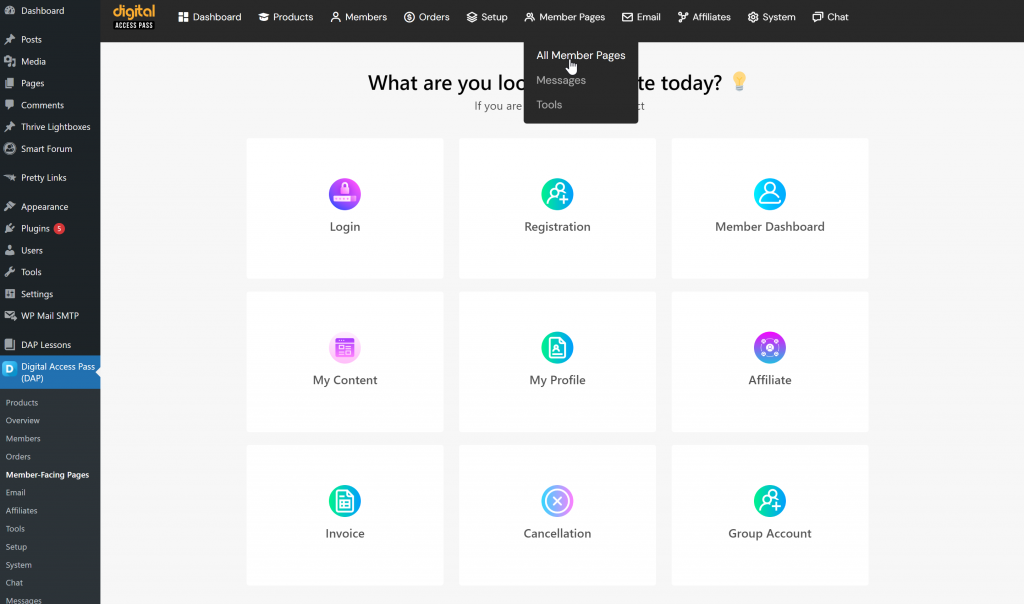
In DAP, member pages refer to various pages where users can manage their account, access products, and interact with the content they’ve purchased or have access to.
Here’s a breakdown of key member pages in DAP:
1. Member Dashboard Page
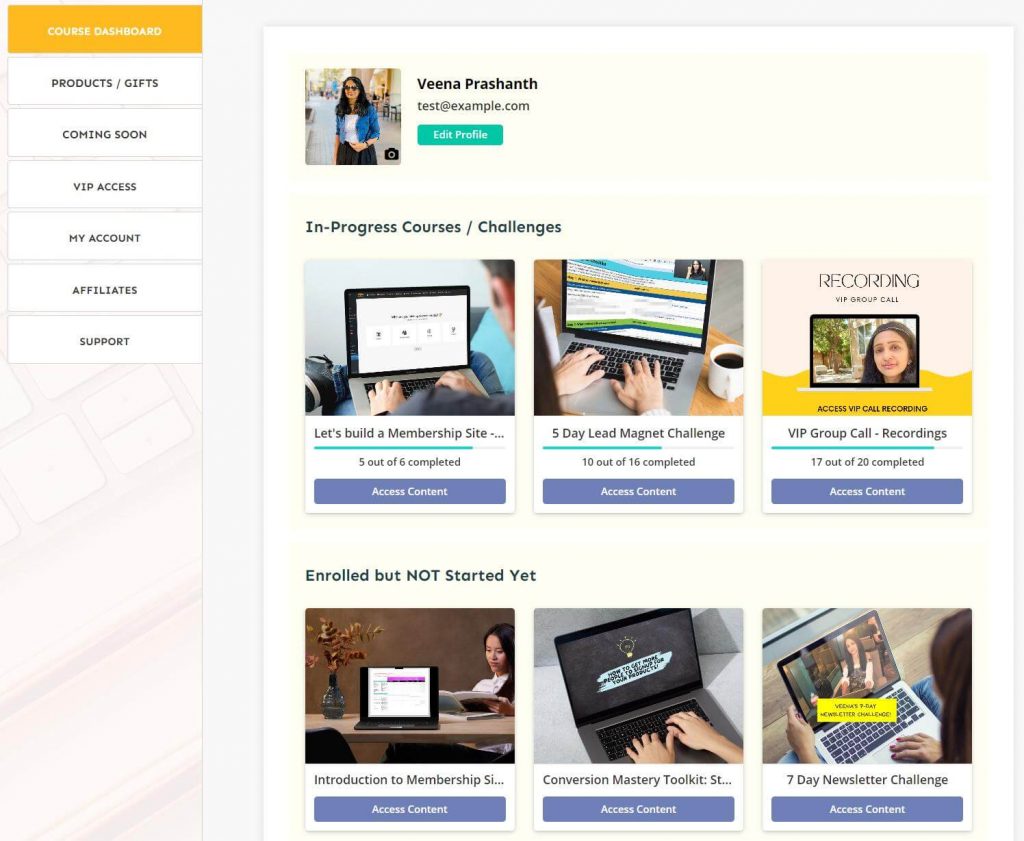
The Member Dashboard is the central hub for logged-in users, displaying all the products they have access to. Each product appears as a box, and users can click the “Access Content” button to view the product’s resources (like courses, downloads, or videos).
You can customize the destination URL for each product, directing users to WordPress pages, external URLs, or specific resources like PDFs or video lessons.
2. Login Page
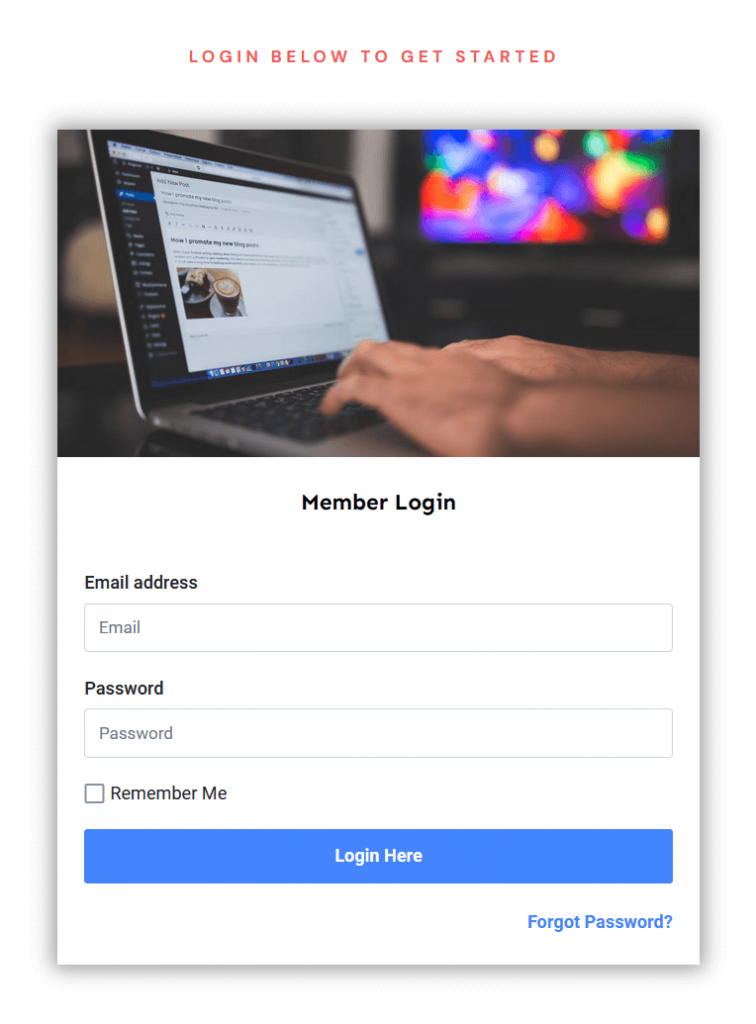
This page is where members can log into their account. DAP provides customizable login forms, and you can also set up social logins if needed.
Users who log in successfully are typically redirected to the Member Dashboard, but you can configure a different redirect URL as well.
3. Profile Page
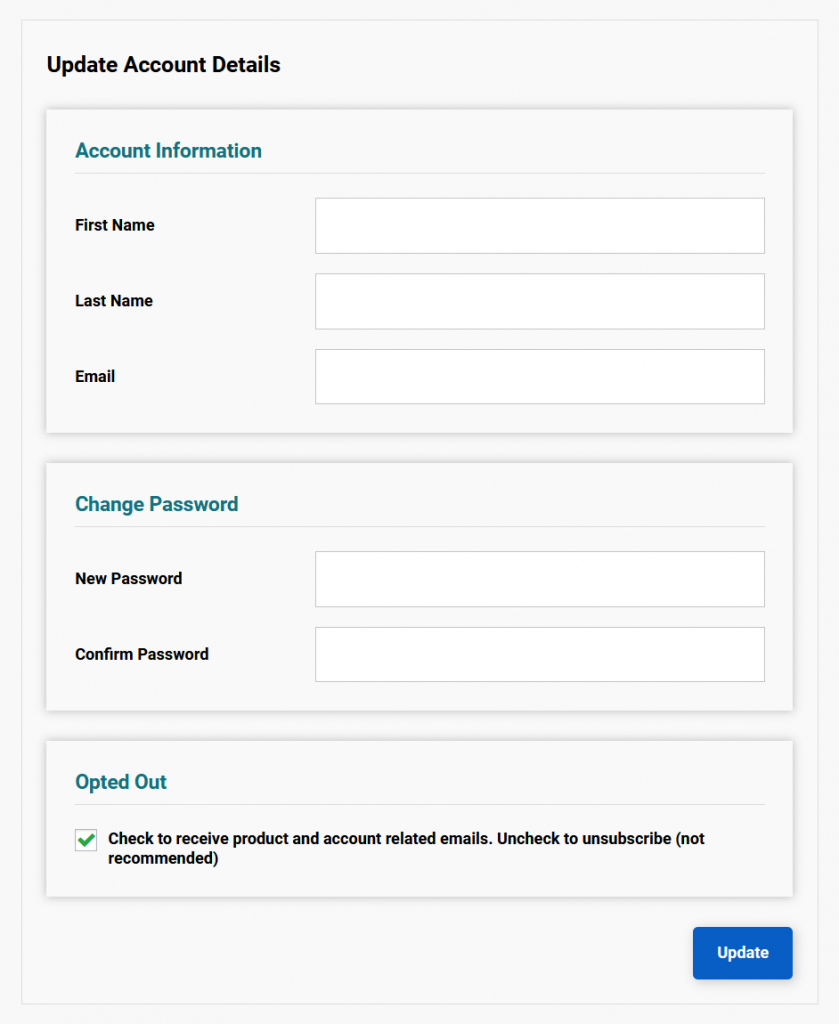
The profile page allows members to update their personal information such as name, email, password, and other custom fields you set.
Users can also manage email preferences and opt-in/out of receiving emails related to their purchases or membership.
4. My Content Page
My Content page lists all the products, and under each product, you’ll find all the resources associated with it. This is especially useful if you offer multiple pieces of content under each product. You can configure the ‘Access Content’ link on the dashboard to direct users to the detailed My Content page, where they’ll find everything that’s part of the product.
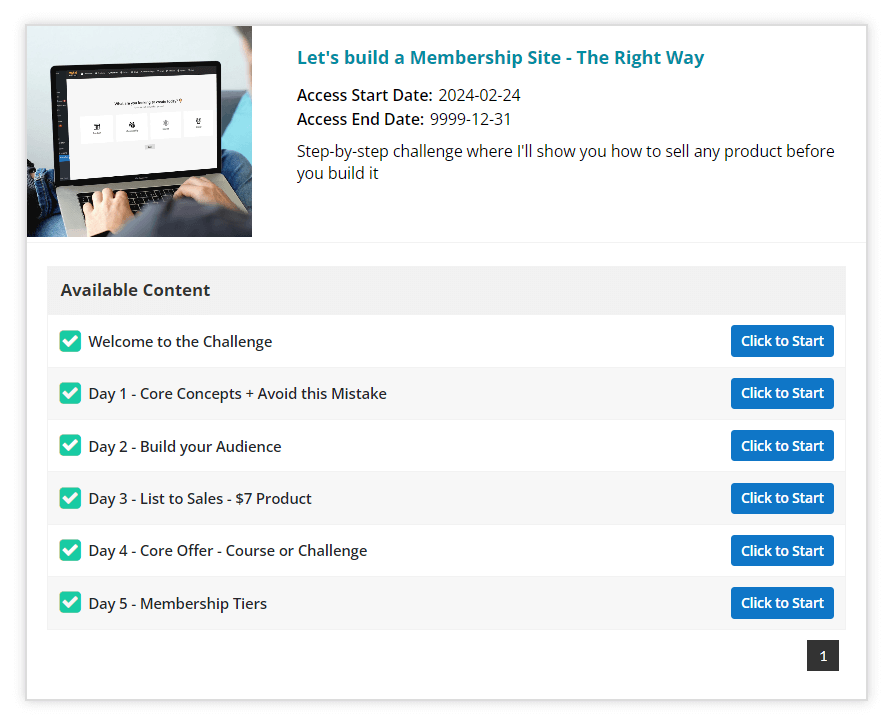
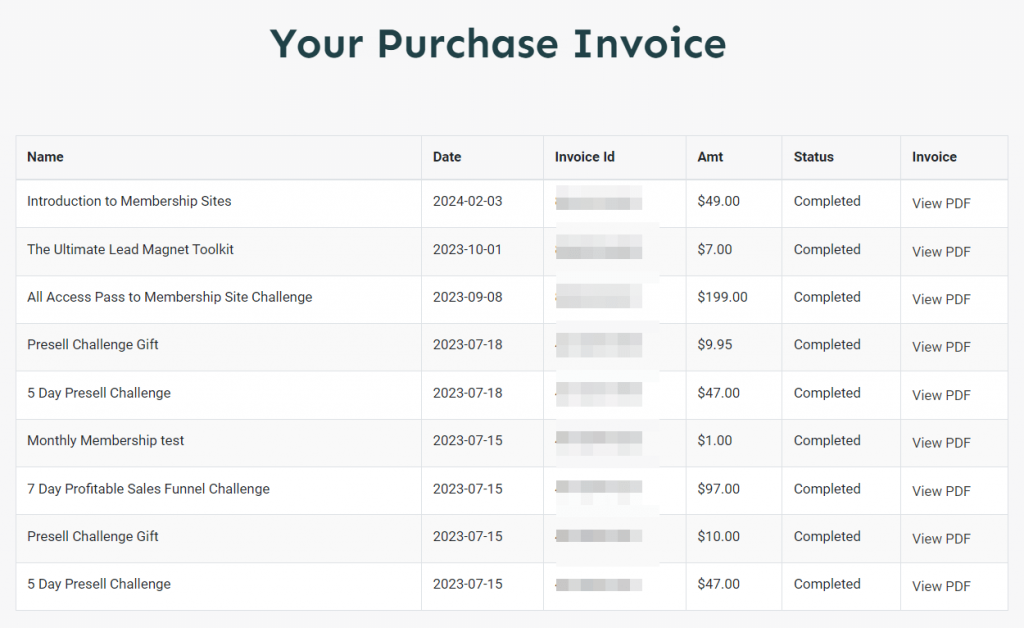
5. Invoice Page
Members can review their entire purchase history here, including the products they’ve bought, the dates of purchase, and payment details.
You can also set it up to show invoices or receipts for each transaction.
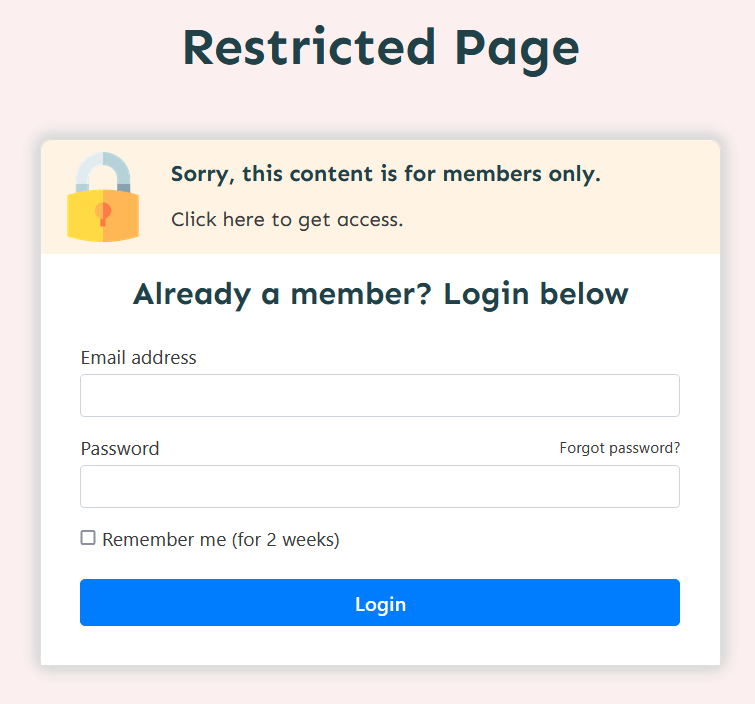
6. Error Pages
These pages are shown when users attempt to access content they don’t have access to. DAP allows you to set up both global and product-specific error pages with tailored messaging to encourage users to upgrade their membership or purchase the relevant product.
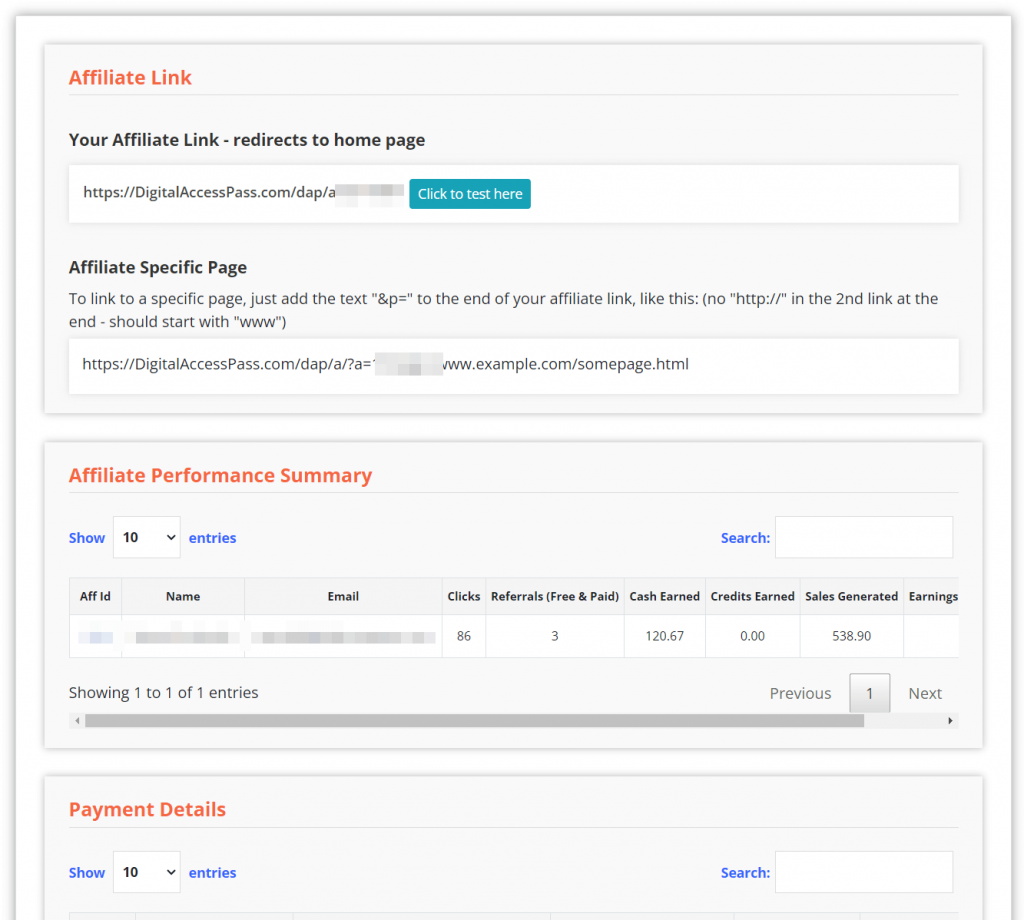
7. Affiliate Page
If you’re running an affiliate program through DAP, the affiliate page is where members can access their affiliate links, track their earnings, and view statistics on referrals and commissions.
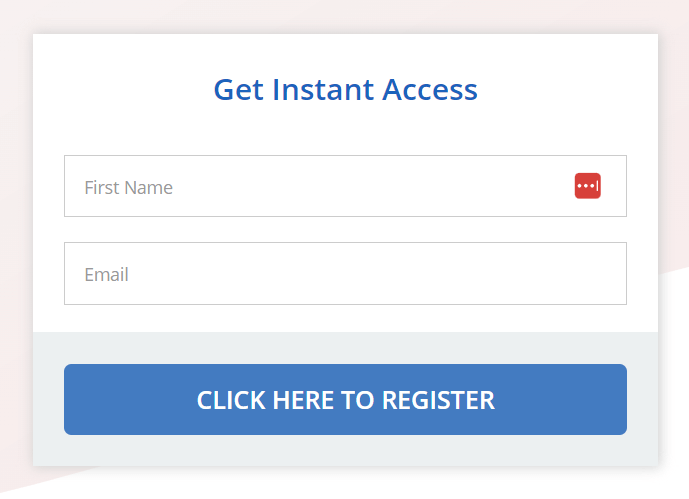
8. Registration Form
Use DAP’s form builder to easily create signup forms for your free products. Simply publish the form on your opt-in page, allowing users to register and gain instant access to the free product.
By customizing these member pages, you can enhance the user experience, making it easy for members to navigate your site, manage their subscriptions, and access their purchased content.
Different Ways to Set Up Member Pages in DAP:
Through the Setup Wizard:
Right after installing DAP, follow the setup wizard to easily configure your brand colors and key member pages like the login, dashboard, and profile pages.
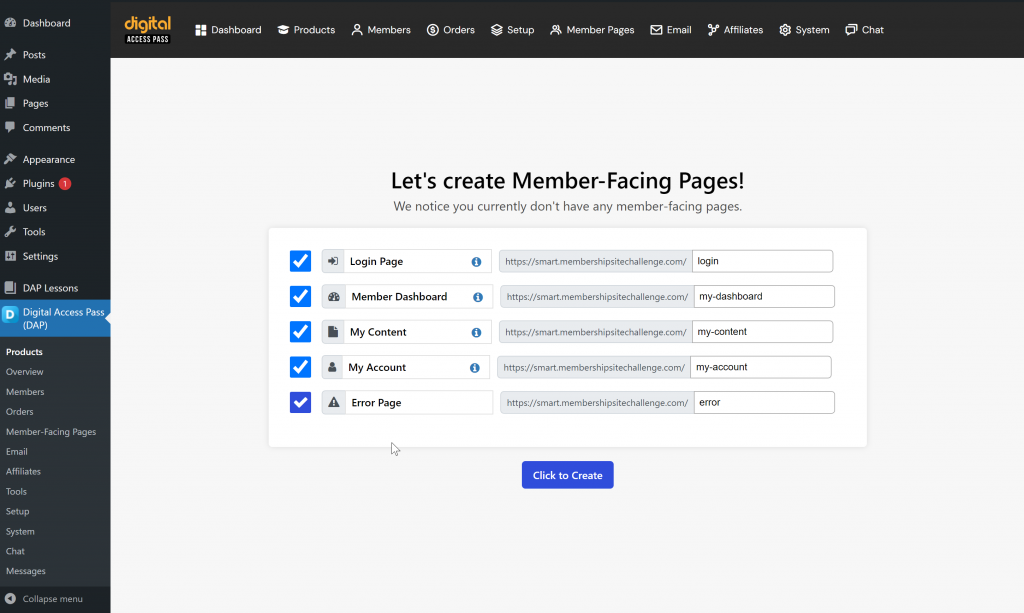
Via the DAP Admin Dashboard:
Access the wizard anytime from the DAP Admin >> Dashboard to revisit and set up member pages if you skipped it during the initial setup.
Manual Page Creation/Updates:
Go to DAP Admin >> Member Pages to manually create or update the member pages, offering more control over layout and content customization.
